News
How to make a cutting board
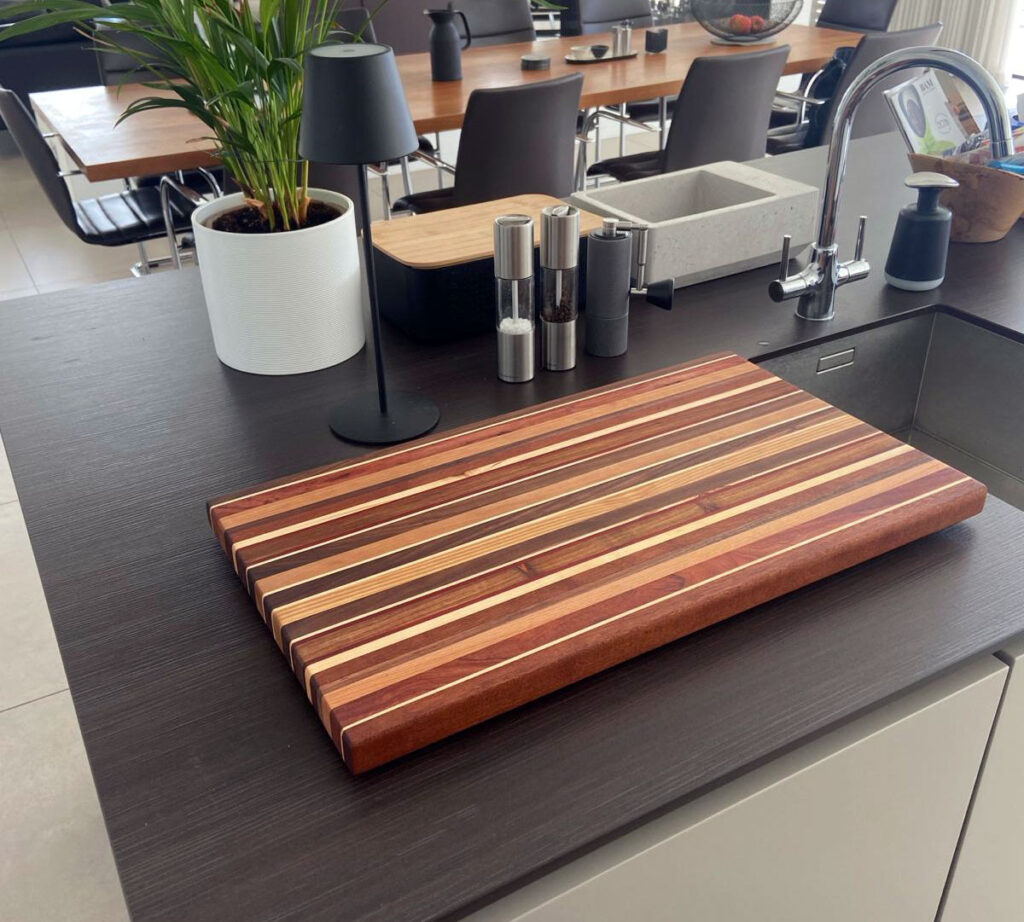
A handcrafted cutting board is not just a functional kitchen tool—it’s a piece of art that can be a stunning addition to your home or a thoughtful gift. At Milltree Studio, we love sharing our passion for woodworking, and today, we’re excited to guide you through the process of making your own cutting board. Whether you’re a seasoned woodworker or a beginner, this project is both rewarding and accessible. Let’s get started!
Materials You’ll Need:
- Wood: Choose hardwoods like maple, walnut, cherry, or a combination of these for durability and a beautiful finish.
- Wood glue: Make sure it’s food-safe and waterproof.
- Clamps: To hold the pieces together while the glue dries.
- Sandpaper: Ranging from 80 to 220 grit.
- Mineral oil or cutting board oil: For finishing.
- Tools: A table saw or circular saw, planer, sander, and a router (optional).
Step 1: Select Your Wood
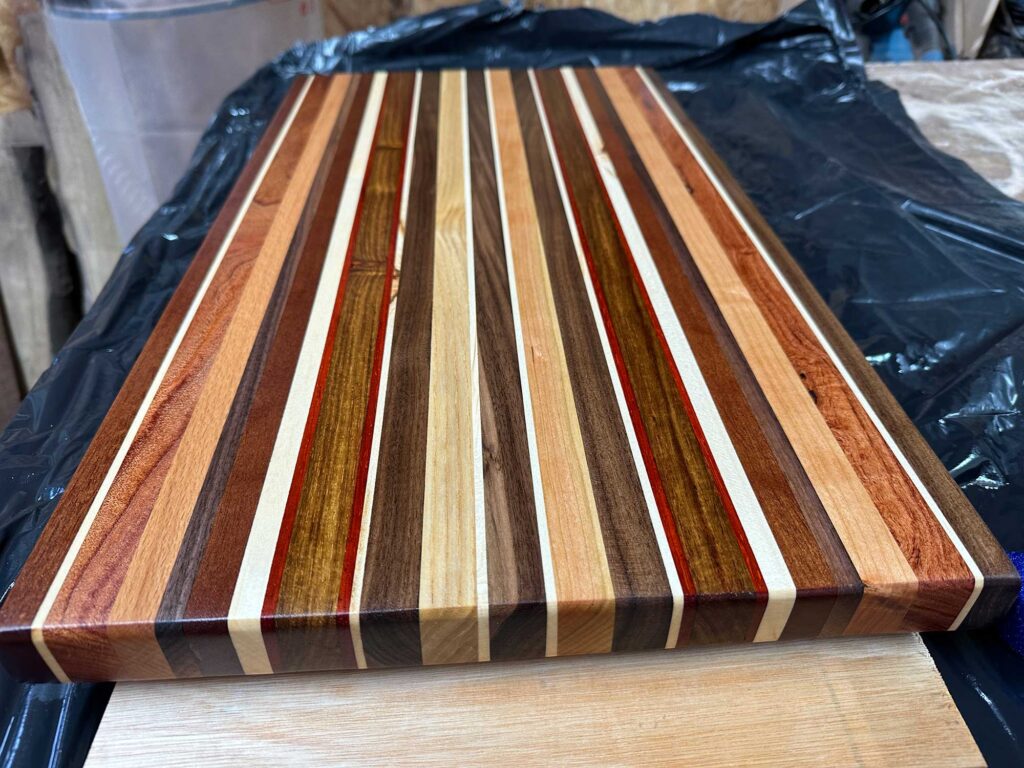
The first step in creating a cutting board is selecting the right wood. Hardwoods like maple, walnut, and cherry are ideal due to their tight grain, which resists moisture and wear. You can choose a single type of wood for a uniform look or combine different woods for a striking contrast.
Step 2: Cut the Wood to Size
Decide on the size of your cutting board—standard sizes are around 12″ x 18″ but feel free to adjust based on your needs. Using a table saw, cut your wood into strips that are about 1 ½” to 2″ wide. The thickness of the wood should be at least ¾” to 1″ for a sturdy board.
Step 3: Arrange the Wood Strips
Lay out the wood strips side by side, arranging them in a pattern that you like. You can alternate different types of wood to create a unique design. Once you’re happy with the layout, flip the strips on their edge so that the faces you want to be the top of the board are visible.
Step 4: Glue the Strips Together
Apply a generous amount of food-safe wood glue to the edges of each strip. Press the strips together and ensure they are aligned properly. Use clamps to hold the board tightly together as the glue dries. Make sure to wipe away any excess glue that squeezes out, as it will be harder to remove later.
Step 5: Plane and Sand the Board
Once the glue has fully dried (usually overnight), it’s time to smooth out the surface. Use a planer to level the board, removing any uneven spots. If you don’t have a planer, you can achieve similar results with a sander, although it will take more time. Start sanding with 80-grit sandpaper and gradually move to finer grits (up to 220) for a smooth finish.
Step 6: Trim the Edges
After sanding, use a table saw or circular saw to trim the edges of the board, ensuring they are straight and square. If you want, you can use a router to add a decorative edge, such as a round-over or chamfer, to the board.
Step 7: Finish the Board
To protect your cutting board and bring out the natural beauty of the wood, apply a generous coat of food-safe mineral oil or cutting board oil. Let the oil soak in, then wipe off any excess. You may need to apply multiple coats until the wood no longer absorbs the oil.
Step 8: Maintain Your Cutting Board
To keep your cutting board in top condition, reapply mineral oil regularly, especially after washing. Avoid soaking the board in water and never put it in the dishwasher. With proper care, your handcrafted cutting board will last for years.
Conclusion
Making your own cutting board is a satisfying project that results in a beautiful, functional piece of kitchenware. Not only will you have a new skill under your belt, but you’ll also have a cutting board that’s truly one of a kind. At Milltree Studio, we believe in the power of handcrafted quality—so give it a try and enjoy the process of creating something special.


